

How to Use Furniture Wax
As an Amazon Associate, I earn commissions on qualifying purchases.
When it comes to finishing furniture, sometimes simple really is best. Furniture wax is one of those tried-and-true topcoats that instantly adds silky texture, rich depth, and vintage charm to your refinished pieces — without overcomplicating the process.
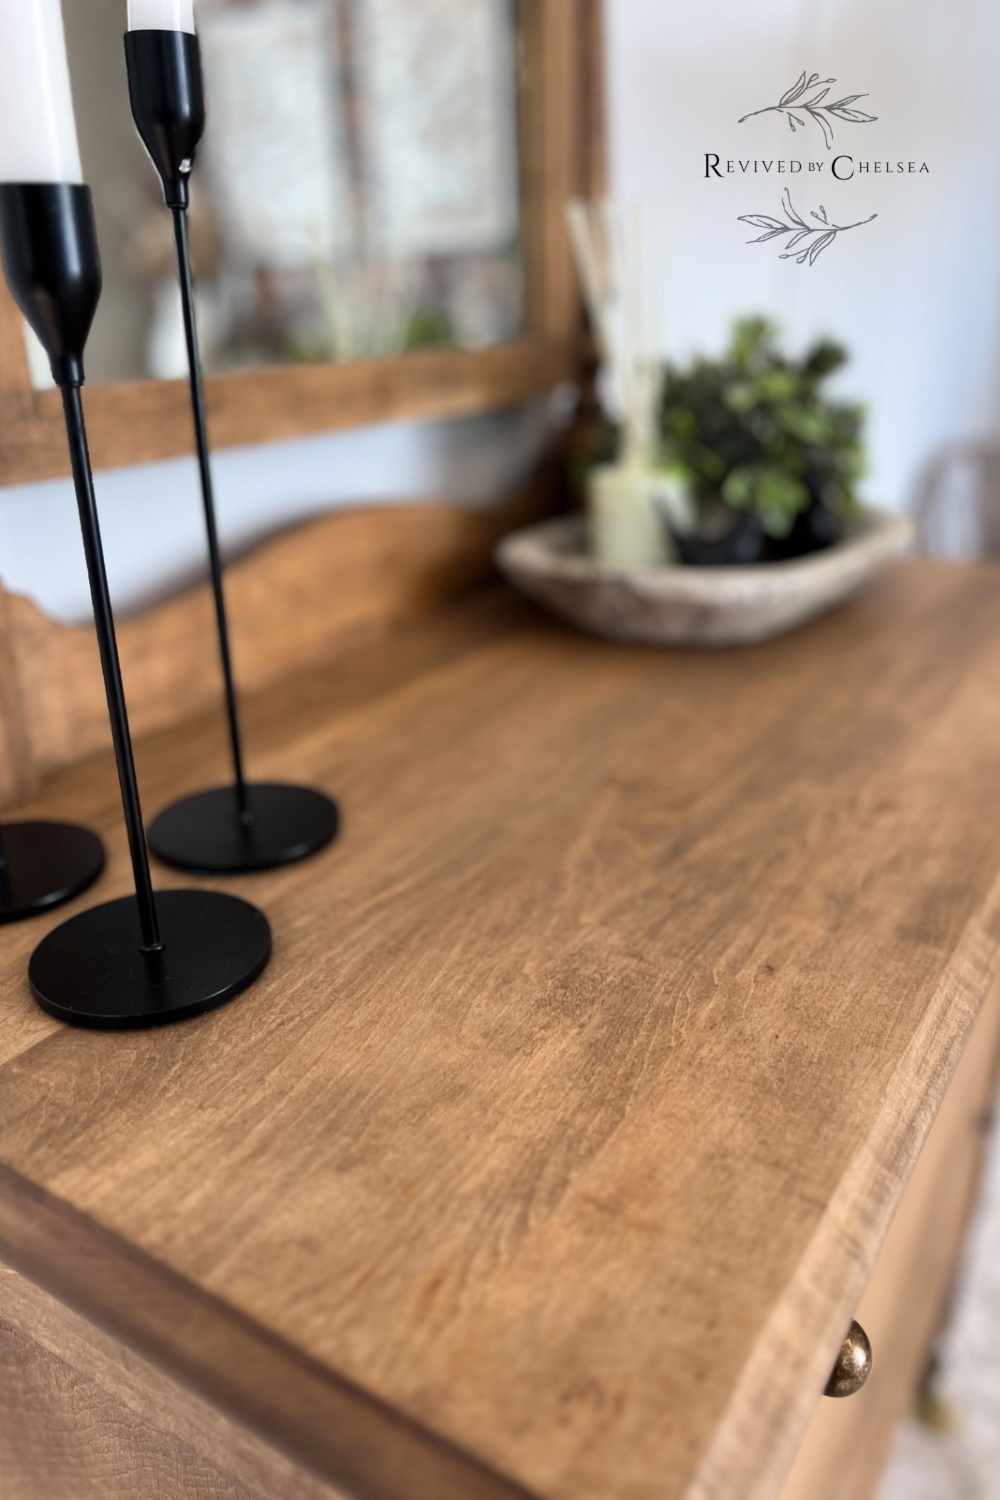
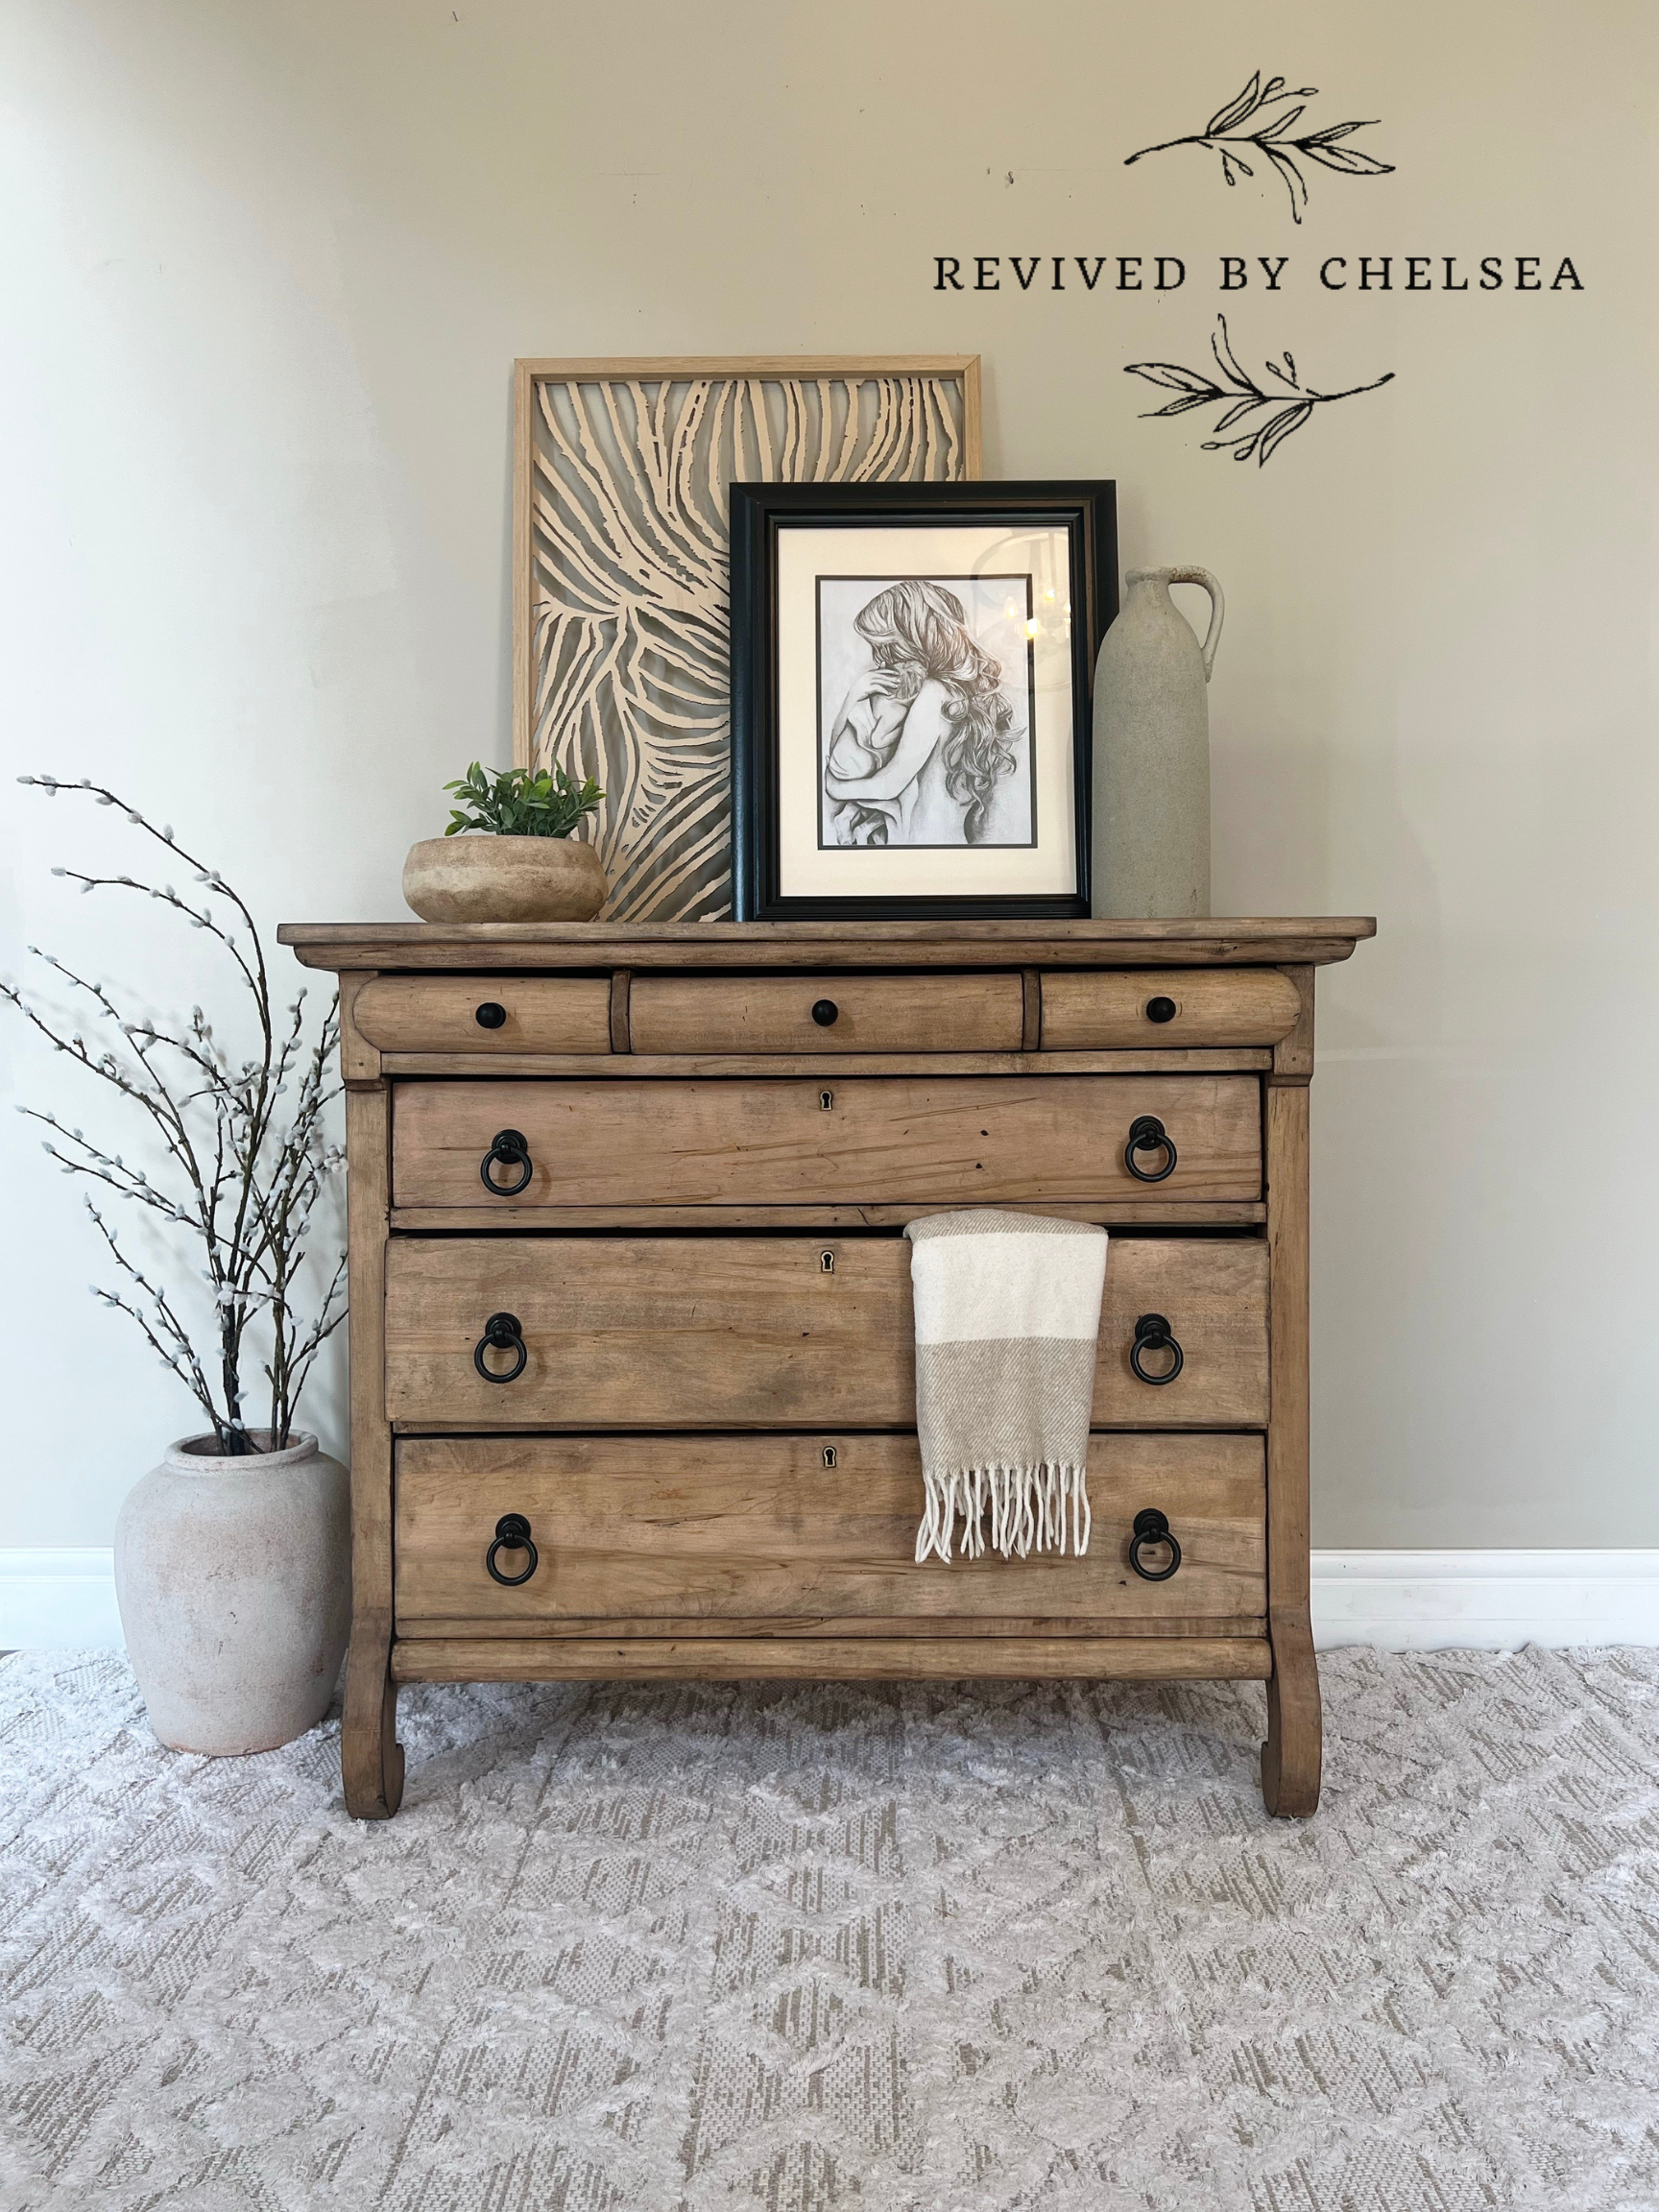
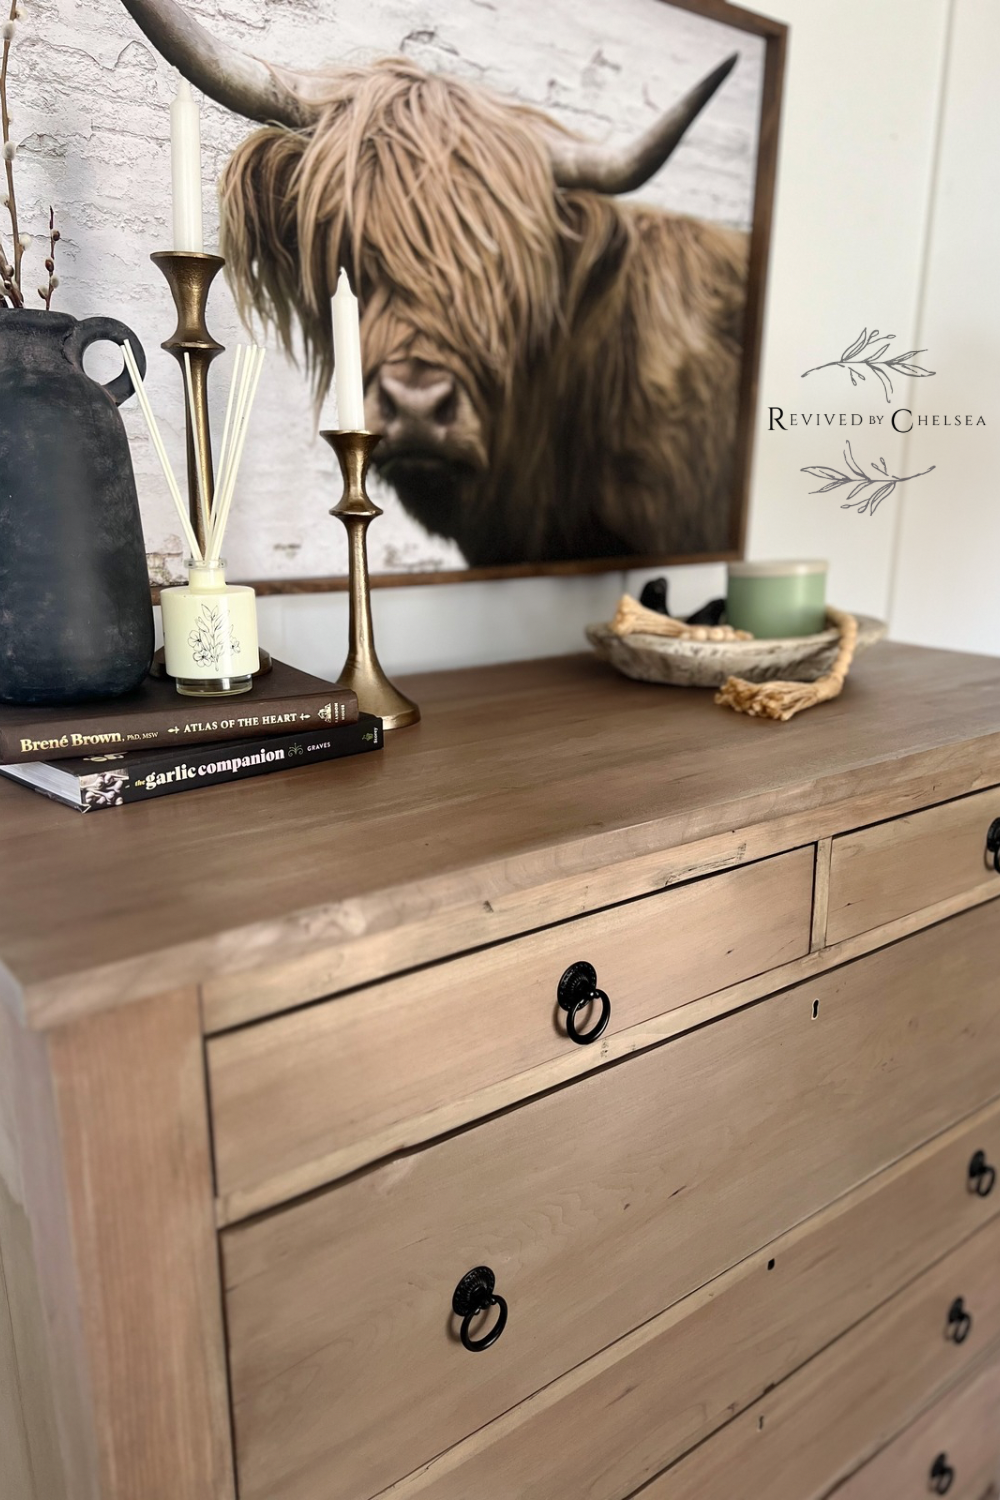
Whether you’re sealing a freshly stained surface or layering it over paint, wax adds a protective finish that fully cures in about 10 days. I like to use Fusion Mineral Paint’s Aging Wax on vintage dressers, and it completely transforms the look — adding just enough warmth and character to make the details stand out.

Why Use Furniture Wax
Furniture wax acts as both a sealant and a stylistic tool. You can use it to:
Add a soft, hand-rubbed finish over paint or stain.
Create an aged or antique look that stain alone can’t achieve.
Build up depth in carved areas and edges for natural distressing.
Give a silky, touchable texture that feels smooth and luxurious.
PRO TIP
Because Mineral Spirits remove wax, it’s surprisingly forgiving. Don’t like how it looks? Just wipe it back before it cures. You can even use a small amount of mineral spirits on a cloth to lighten or adjust certain areas — keeping wax in the grooves and removing it on flat surfaces for a beautifully dimensional finish.


Pros of Furniture Wax
Enhances and protects light-colored paints like Fusion Mineral Paint.
Easy to use and forgiving — mistakes can be fixed or adjusted.
Can be removed or manipulated with mineral spirits before curing.
Adds an aged, vintage look that deepens tone and character.
Cons of Furniture Wax
Can be heat sensitive — avoid placing hot cups or dishes directly on it.
Requires mineral spirits for removal (regular cleaners won’t do it).
May need reapplication every few years, depending on use.
Not food-safe, so skip it for dining tables or kitchen surfaces that need frequent cleaning.
How to Apply Furniture Wax:
If you’d like to see exactly how I apply wax and manipulate the finish for that perfect vintage glow, Check out this quick video tutorial !
You can apply wax to any surface! If you want to apply it to raw wood, make sure the piece has been fully prepped. You can check out my blog post with full steps on stripping, sanding, and staining/applying paint wash right HERE.
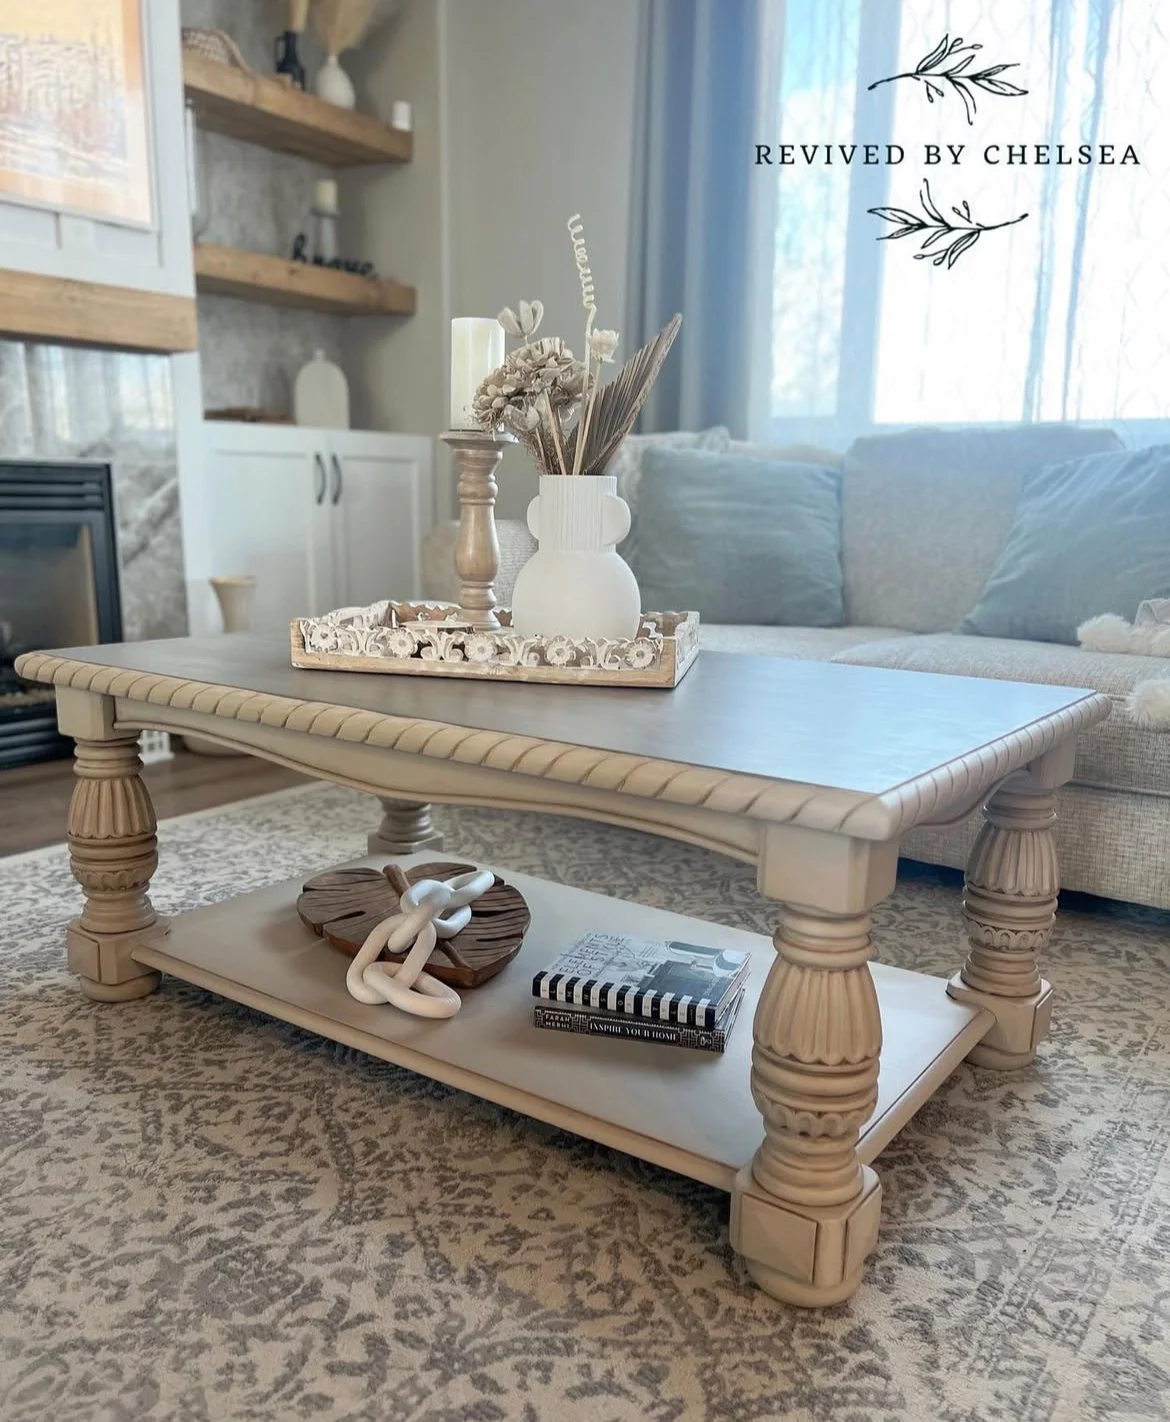
Alternatively, you can fully prep and paint a piece and finish it off with a beautiful wax finish. If you would like to learn how to prep and paint a piece of furniture, I’ve got you covered! Check out my blog HERE on how to PAINT furniture. The look is stunning and adds depth and vintage appeal to a painted piece of furniture. Check these out!


Step 1:
After painting, staining, or just sanding your piece, grab your wax tool. This can be a brush (like this one) or a lint free cloth (I like these). Check out the video above for more information on which one to use! You will also need to have a furniture specific wax for this finish. I mentioned it above but if you missed it, I love THIS brand. It’s so easy to use and has the silkiest finish.
Step 2:
Rub or brush the wax all over the piece - or wherever you would like to have wax. Be sure to have some Mineral Spirits on hand as well. Mineral Spirits is essentially the Anti-wax product. I like to use it when prepping a piece as it removes any wax or wax-like finishes. If you have a little bit of Mineral Spirits dabbed on a (separate) lint free cloth, you can manipulate the wax more and remove it from spots where you want there to be less wax. This would be more specific if you are applying wax to paint. Sometimes you only want it in crevices or corners (check out the coffee tables in the photos above).
Step 3:
If you used a wax brush, wipe back the excess once you have finished a small area - such as a chair or table leg. If you used a lint free cloth, you can buff the wax as well once you have finished a surface.
DO NOT try to sand back any wax. You will end up with a gummy product on your sand paper.
REMEMBER: WAX IS LAST!!! This is so important! I don’t care what else you read, I have read some blogs that tell you to apply a top coat over wax. This is WRONG! It WON’T stick! WAX IS LAST!
Final Thoughts
Don’t overthink it. Waxing is one of those steps where you can trust the process — everything is fixable. If you don’t like the color, wipe it off. If you applied too much, buff it out. The beauty of furniture refinishing is that it’s all about experimenting and layering until it feels right.
If you want to learn how to keep that beautiful vintage hardware but give it a glow up, check out my blog post on how to refresh vintage hardware here!