

How to Paint wash furniture
As an amazon associate, I earn from qualifying purchases made through affiliate links..
Paint washing furniture is one of my favourite finishes to do. It’s also a bonus for me that it usually sells fast too. If you want to see more of my work, slide on over to my Gallery or check out my Facebook and Instagram and give me a follow! You can also Pin any of these images on Pinterest. If you are looking to see my How-to videos, click on over to my Youtube Channel!
Paint washing is quickly becoming a popular trend for furniture refinishers and here is why.
The finish is absolutely stunning
It is suprisingly easy to accomplish
The finish is quite forgiving to sanding errors
You can choose from literally any paint colour to create a wash

Lets dive in!
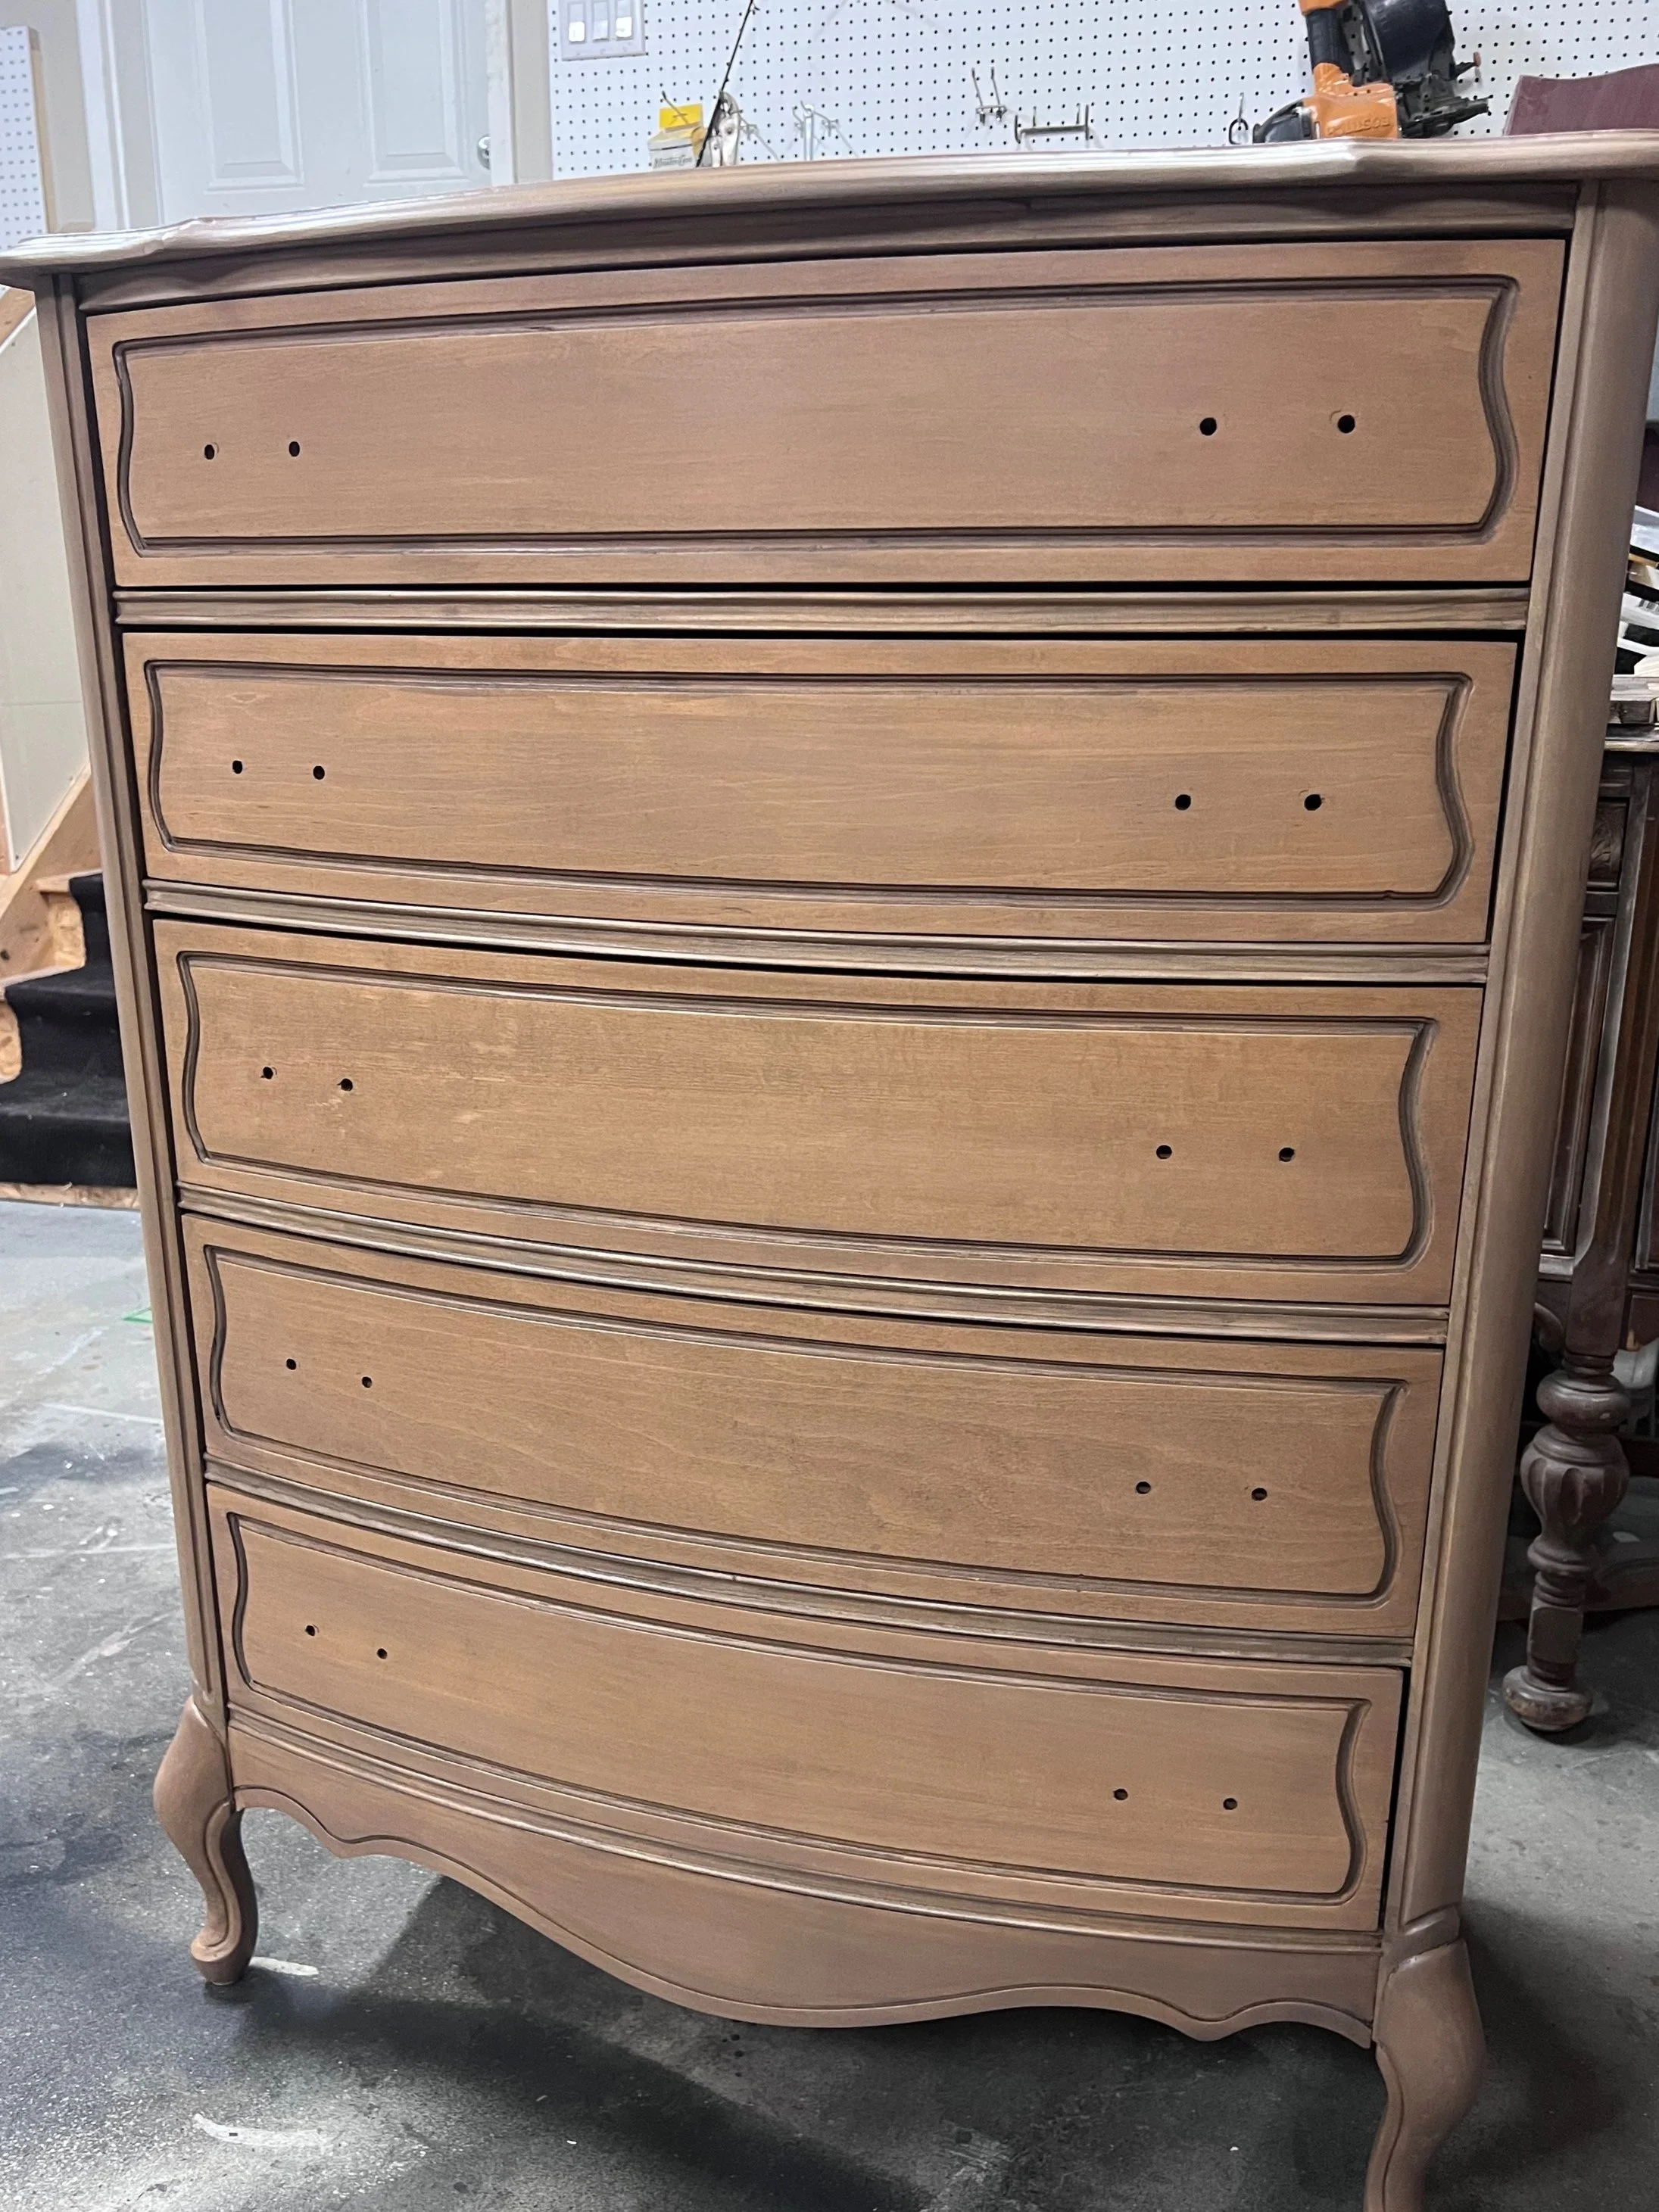
I picked up this highboy with the rest of the bedroom set. I got the entire set for $100! It came with two nightstands, a large Lo Boy and this piece.
Highboys are not always the most popular - so my goal here is to make it so darn desirable that someone scoops it up quickly.
Now here is another thing to look out for when doing a paint wash.
This really only works on wood.
Veneer works too! But you have to be careful when you sand veneer - you don’t want burn through.
You have to sand the piece down to raw wood. You Cannot just scuff sand.
Let me also clarify something for you. French Provincial furniture is often very well built and very heavy. But don’t be mistaken! Just because it is heavy, does NOT mean it is wood! You would be surprised at how heavy MDF is. So make sure it is wood!
You can probably search the company online before purchasing considering there isn’t really “new” French provincial styles anymore.

List of Materials:
Drill or screwdriver
Electric palm or Orbital sander
Furniture stripper (Optional)
PPE (This is the one I have)
Sanding pads - 80, 120, 180 (I use my Festool Sander
Water
Water Based Paint (I use Fusion Mineral Paint)
Top Coat - I use this one!
New hardware if you are going to change it out!
As an amazon associate, I earn from qualifying purchases made through affiliate links..
Ok, now that we have our piece, we need to remove the hardware.

Pro tip - put the backings on each piece of hardware before you put them somewhere. Ohhhh the countless screws I have lost because they rolled off of worktops. Keep them together! You will be happy later.
Check out the Blog Post to how you can restore your vintage hardware here!
After the hardware is removed, you are ready to get started! First thing.. You HAVE to clean your piece before sanding. “What if I am going to strip the finish off?” If this is the case, I don’t clean the piece first because a stripper will eat through everything sitting on top. So I will give you a walk through both on options.
OPTION 1: Clean with TSP


If you are sanding the entire piece with a sander or by hand (please invest in a sander), you will want to clean the piece with a TSP cleaner. My favourite is TSP Alternative by Fusion Mineral Paint. You do not have to rinse off this product like you do with other TSP cleaners.
Using 2-3 caps full in a spray bottle mixed with water, spray your piece down and use some elbow grease to give it a good clean.
You will be surprised at how much dirt comes off. Seriously - do not skip this step. Prep is the most important part.
OPTION 2: Strip off the original finish


If you are going to strip down the piece, I highly recommend Circa 1850 in the Gel consistency. Strippers are expensive. This large container is about $75CA. I can get it to go quite a long way, maybe 2-3 pieces, so realistically, you are only spending between $25-$40 on stripper per piece. However, that is significant compared to sanding pads. At the end of the day, time is money so I prefer the more efficient (and satisfying) option.
First - please make sure you are in a well ventilated area and using PPE.. This is NOT the worst smelling stripper I have used, but it still can burn your nostrils when using it. So, open a window, turn on fans, crack the garage door a bit.. Whatever you need to do to protect those brain cells! Fortunately, we have a fan that sucks out dust and odours in our garage.
Pour the stripper onto your piece. Then use a metal putty knife to spread it around. You will want to have a thick layer of stripper on the surface. As the stripper dries, it evaporates, so the product will naturally thin out. if you do not have enough on the surface, it won’t be able to chew through the original finish. Work Smarter, not harder.

Strip off the finish!
After 15 minutes (at least), the stripper is ready to come off. It should look bubbly.
Grab a scrapper and a garbage bin, and scrape the goo off in the direction of the grain. I use really heavy duty garbage bags so the stripper doesn’t eat through your bag. Otherwise you might have a bigger mess on your hands.
This process is incredibly messy but also so satisfying. I would say you just shaved off about 3 hours of sanding - if not more depending how detailed your piece is.


Next, we need to sand down the piece entirely. Even though the Stripper removed the varnish and most of the stain, remember, stain still penetrates the wood. The good news? We can use a less abrasive sandpaper at this point. I usually start with either 120 or 180. You do not need to press hard on the surface. Just enough that you see the finish coming off. If you are already using 180, make sure the piece is completely free of all previous finish. 180 leaves enough of the grain open to absorb the finish.
If you have a dresser with deep grooves or ornate details, this is where your Dremel and/or carbide scraper will help. Then you will probably still need to use good old fashion sanding by hand for any extra difficult areas to get into.


None of this is difficult, just time consuming. Hang in there. You got this. This is where you need the motivation from someone who has been there to say - YOU ARE SO CLOSE TO THE END!

Grab your water based paint - I used Woodwick by Fusion Mineral Paint and some water. It’s time to make your paint wash! Don’t be intimidated by this process. It’s actually fun and super easy. I usually use a red solo cup and add about a quarter cup of paint and the same amount of water, PLUS another tablespoon or 2 of water (about 40:60 paint:water).
I prefer to use more water than paint - typically around 70%-75% water. Fusion recommends 2:1 water to paint. I use a bit more water than that as too much paint can give you uneven spots. That is my personal preference.
Once your wash is made, you’re ready to go! Grab 2 lint free cloths - one to apply, and one to wipe off, a mister of water (helpful if you have any uneven spots), and your cup of paint wash!

Apply your paint wash going in the same direction as the wood grain.
It is important that if you are working in sections, finish a full strip going with the grain.
For example: My piece is about 37” wide. Therefore, I will work along the length of the top going in a straight line for the full 37”. If you stop and pickup the cloth half way through, you will end up with drag lines and you will see the stop and start.
Don’t panic if you did this! That is where the mister comes in. Spray your mister over the wash and it will reactivate the paint. run the rag along the entire length again and it will smooth it out.
This is going to be a bit of trial and error. You don’t HAVE to have a mister, but when I started doing this finish, I learned quickly that I’m always grateful to have it.
If you find that you have excess liquid sitting on top, grab the second clean cloth and wipe back the excess.
Add the top Coat
One of my favourite things about paint washes is that It doesn’t take long for the wash to dry. I say a couple hours. Enough time to clean up my workspace, grab a Starbucks, and pick up my kids from school!
Once the wash is dried, smooth it out with a high grit sandpaper or sanding sponge. Something like 400+ grit works great and won’t leave any marks.
I really appreciate the efficiency and even application of top coat when I spray it on using my favourite Sprayer. But you can use a Sponge, brush, or lint free cloth as well.
Top Coat will alter the colour ever so slightly. I personally love the richness it gives.
Once your top coat is dry, I like to smooth it out with a sanding sponge.
If you have been looking at your washed piece thinking “Something just isn’t quite right”… believe me. I have been there with almost every piece I do. I’m not kidding when I say that hardware is like the frosting on the cake. It’s the jewelry. So before you second guess yourself, just wait a minute and go get that hardware.

If you are refreshing the existing hardware, check out my tutorial on how to refresh vintage hardware!
Here is the final result! I am absolutely in love with this colour. Here is the super exciting part - it sold within the first 20 minutes after I shared the TEASER with just the top corner on my stories.
If you are going to be flipping furniture for income, STAGING is the most important part for your sales experience. Check out my blog post on Staging to Sell!.
Please leave me a comment what you think of this blog or any questions that you may have! Thanks friends!


